Vtiger Relationship builder userguide
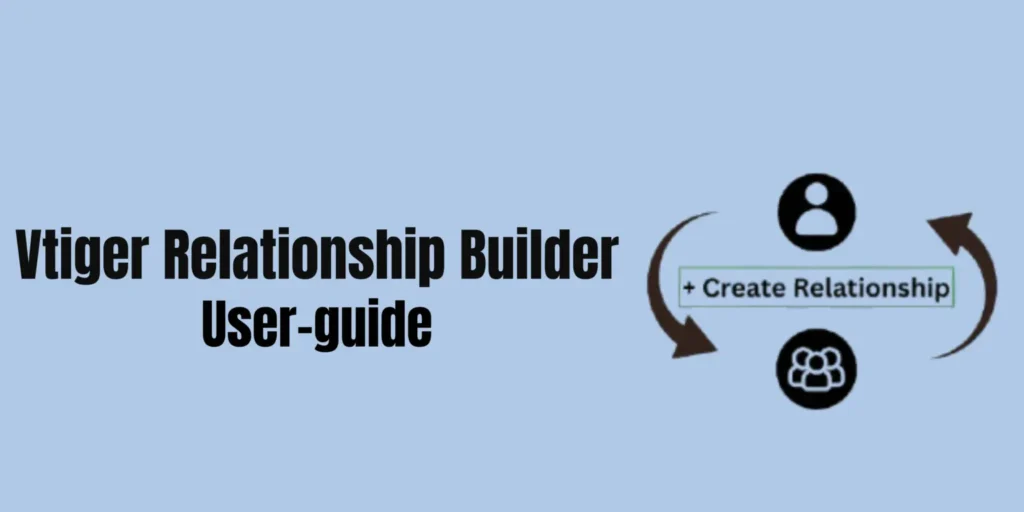
This vtiger relationship builder userguide helps you Create Relationships between different modules according to your business-specific needs. By doing this you can connect any


This vtiger relationship builder userguide helps you Create Relationships between different modules according to your business-specific needs. By doing this you can connect any
Excel export for Vtiger is an essential matter for data analysis and reporting. But all the times the users face a
This guide explains how to mention users in comments within Vtiger CRM, using the vtiger mention users in comment extension,