User Guide : Round Robin Assignment in Vtiger CRM
Round Robin Assignment in Vtiger CRM extension is a powerful tool, can automate assignments of CRM records, ensuring new customer inquiries,


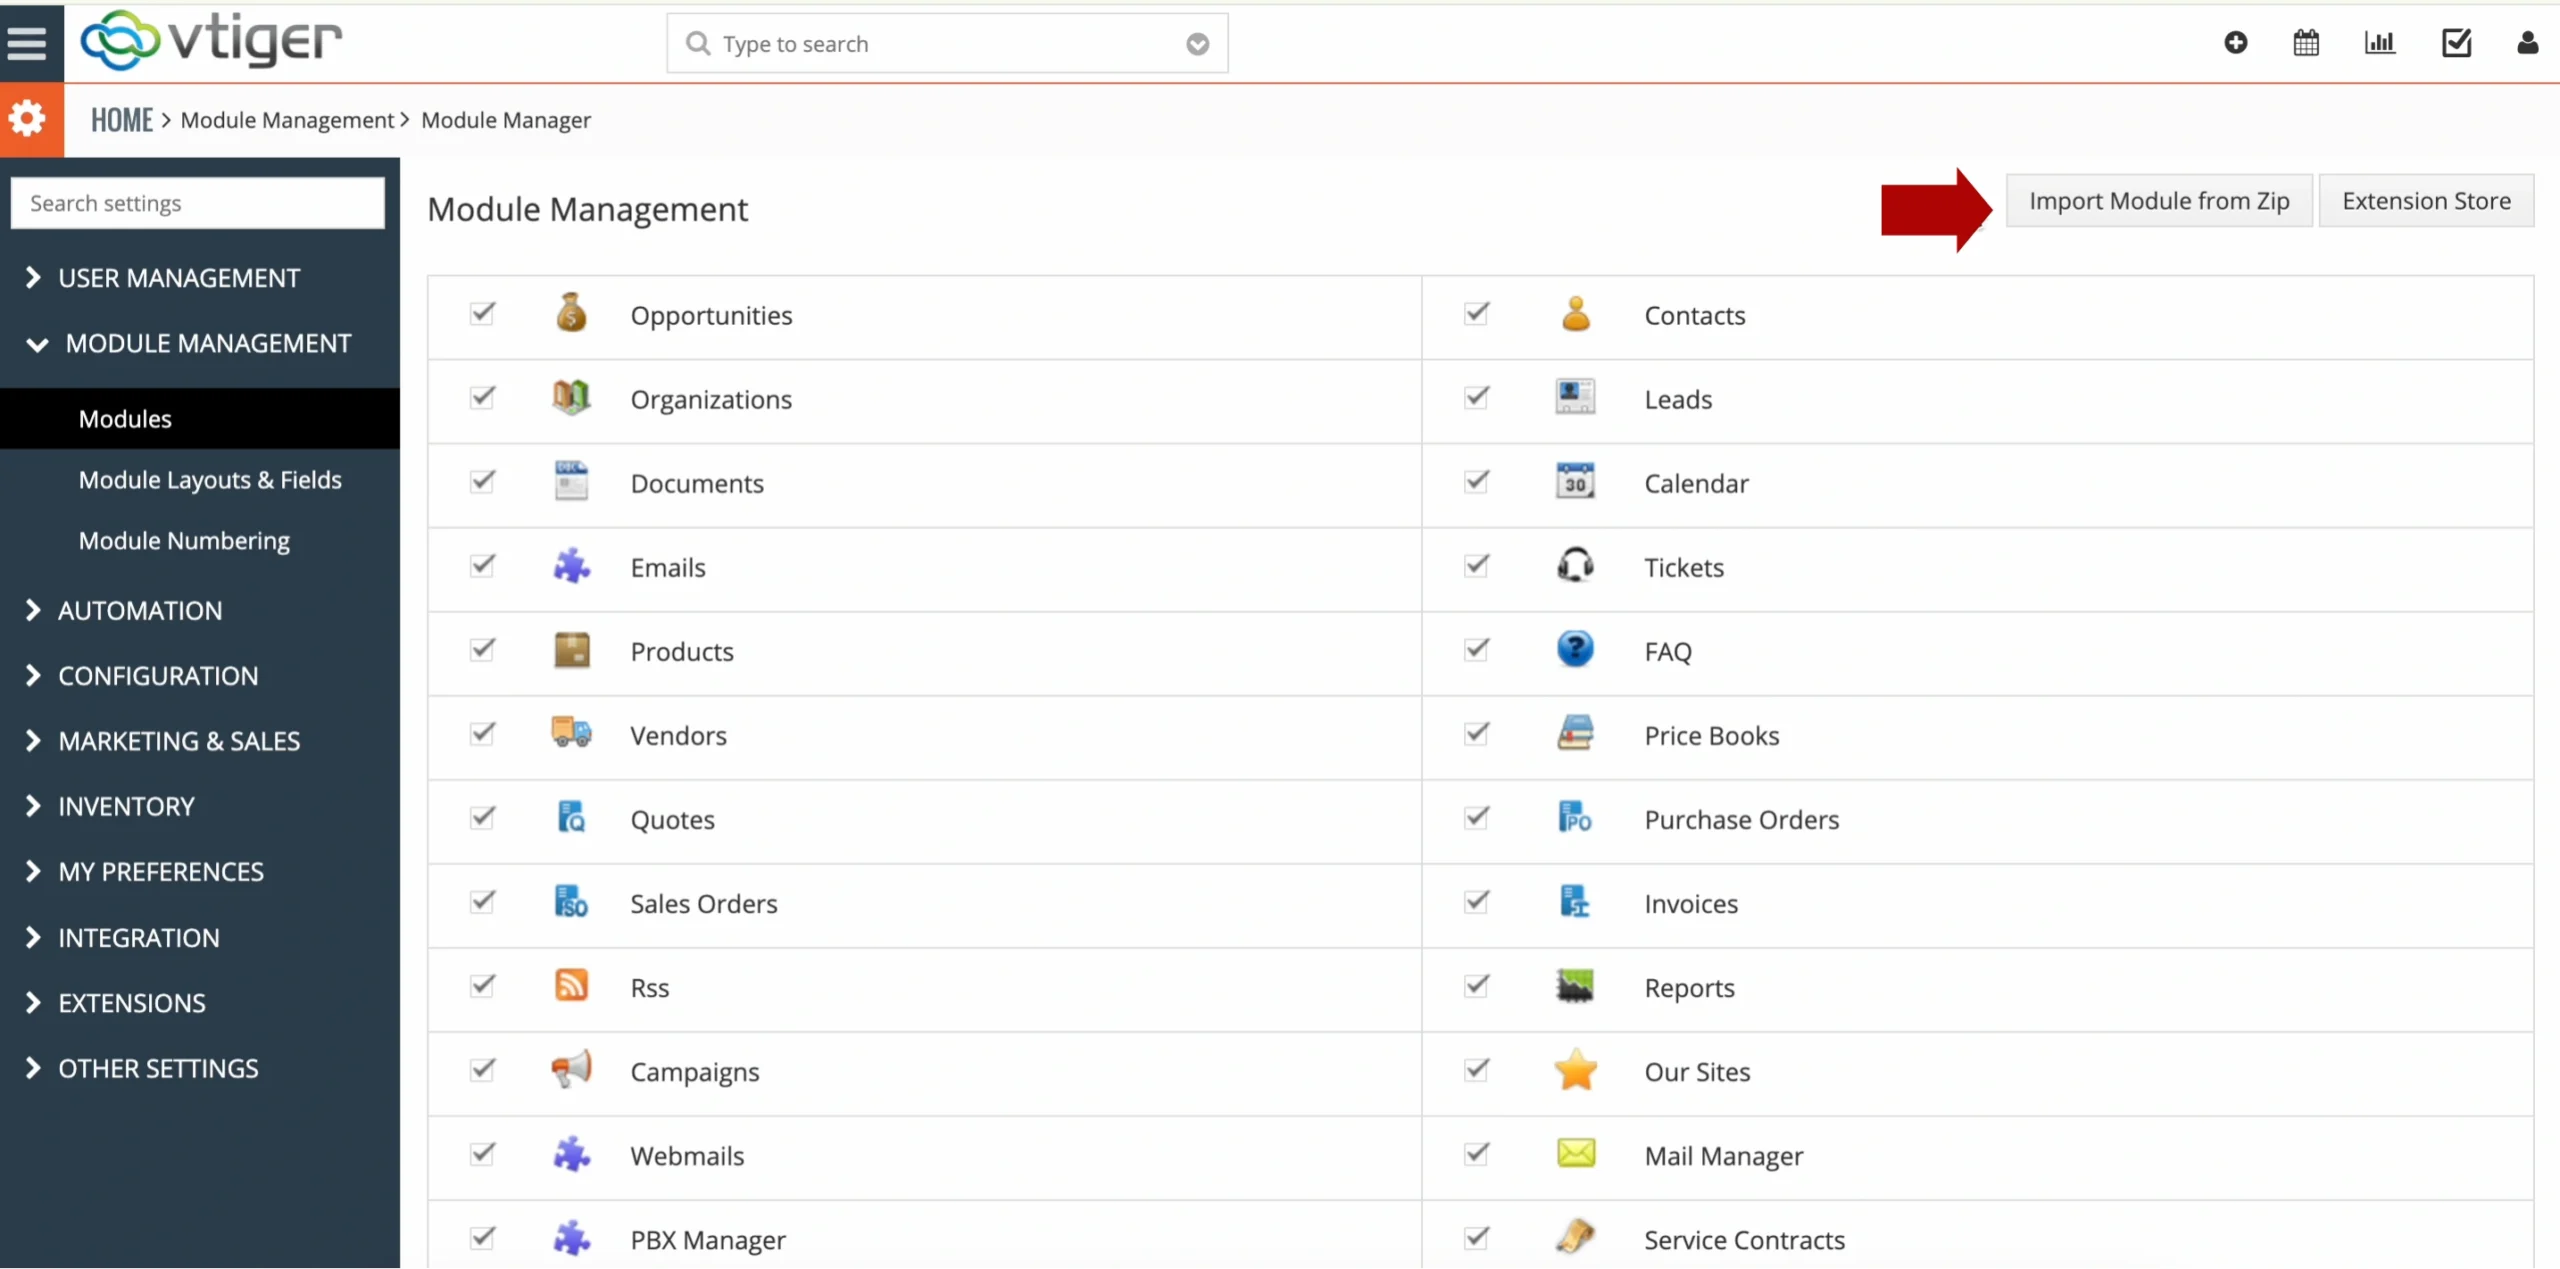
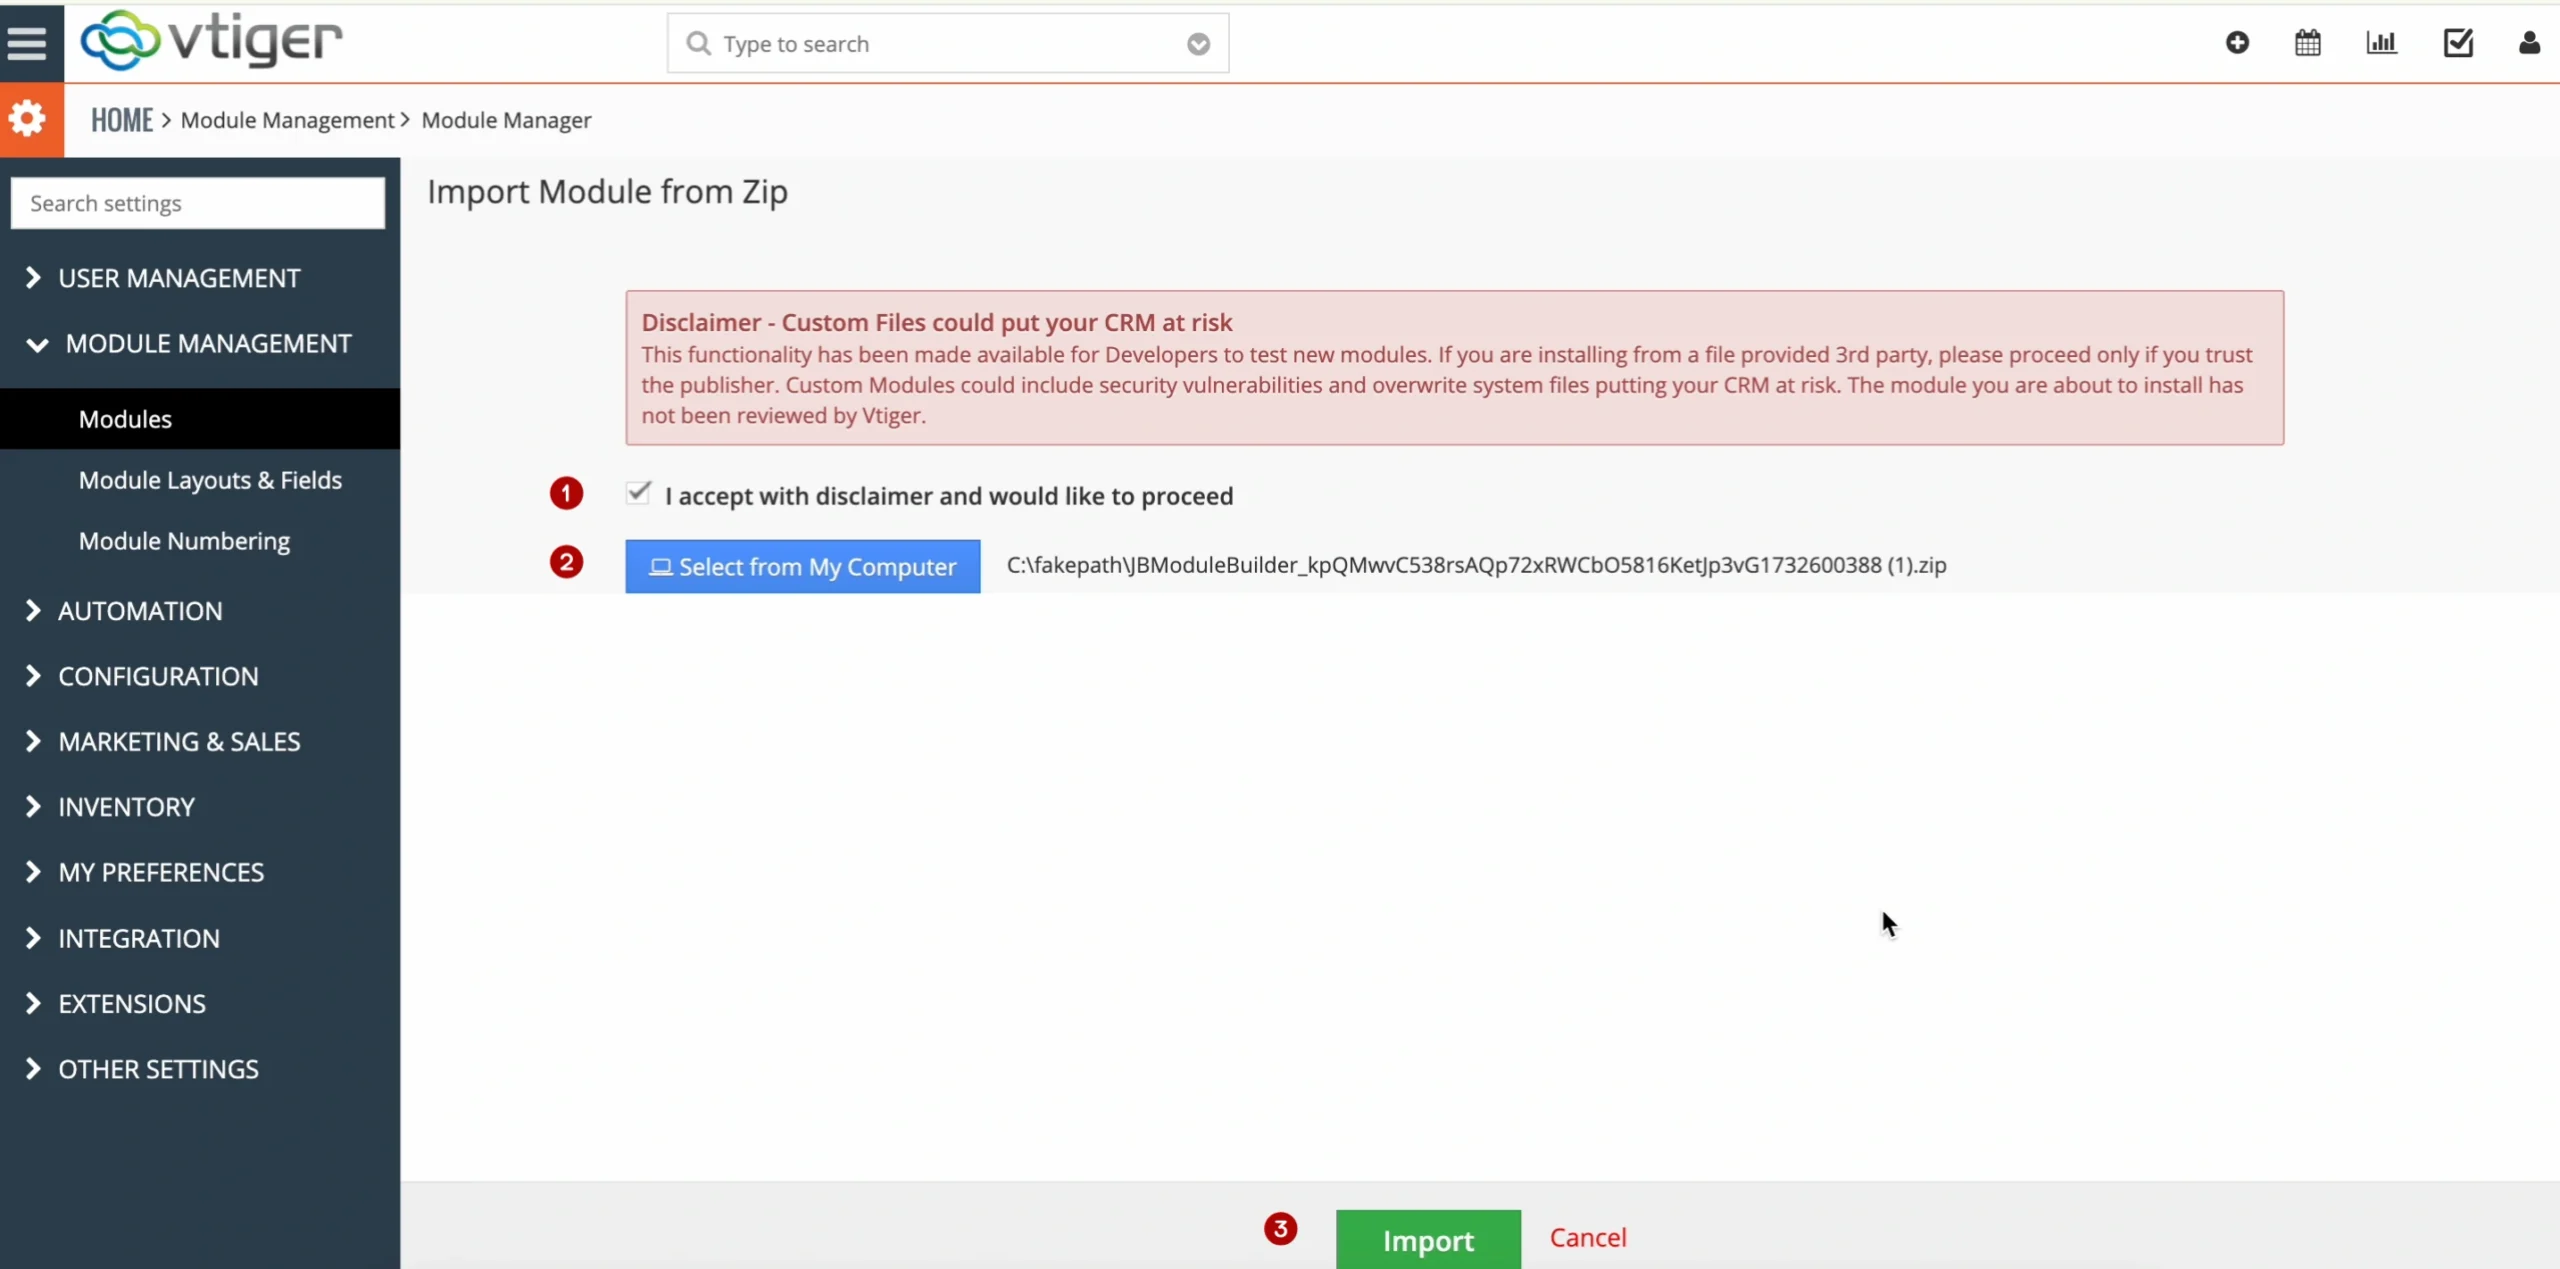

Round Robin Assignment in Vtiger CRM extension is a powerful tool, can automate assignments of CRM records, ensuring new customer inquiries,
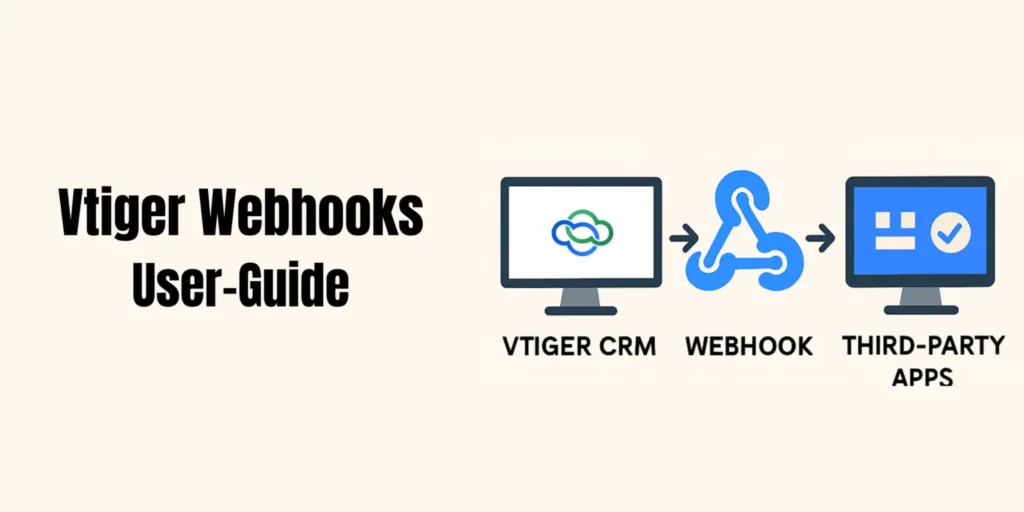
Vtiger Webhooks Userguide is designed to help you easily connect your CRM with third-party applications, ensuring automated, real-time data flow

This guide explains how to mention users in comments within Vtiger CRM, using the vtiger mention users in comment extension,